- Merchandise
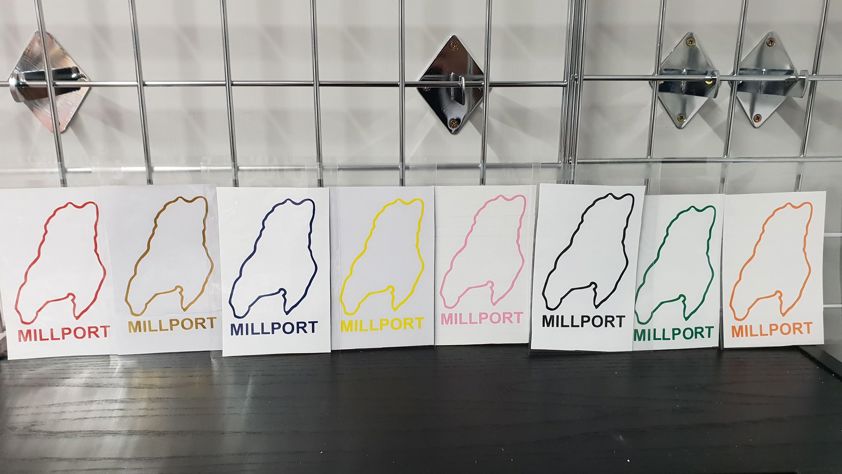
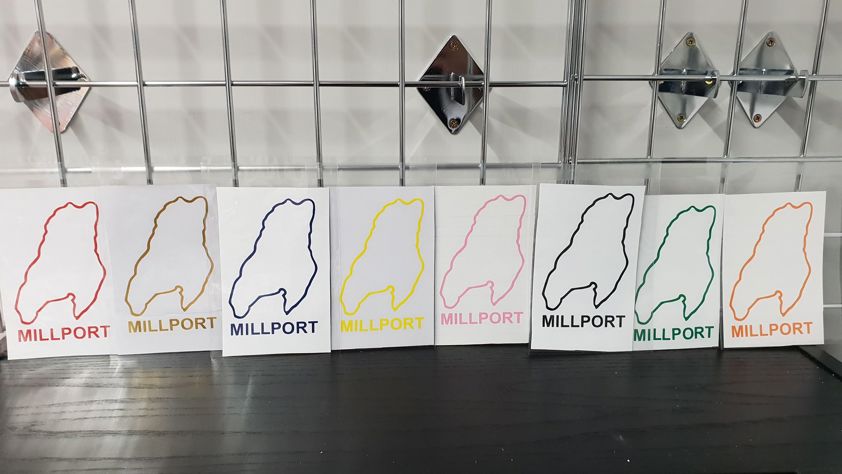
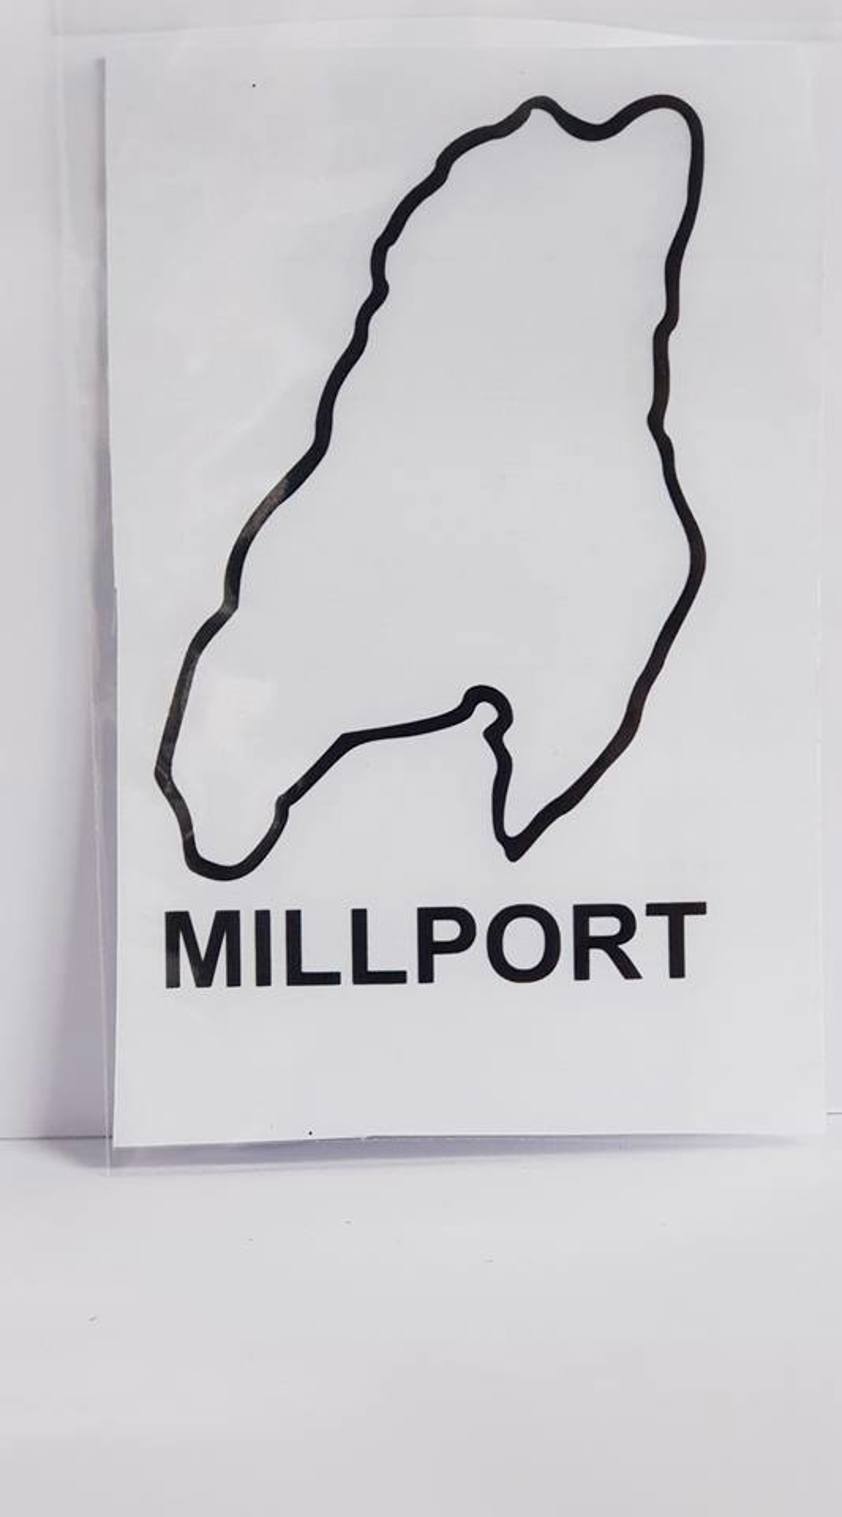
- Millport / Cumbrae Island Outline Sticker





🔌 Disconnected. Attempting to reconnect…
MAPE0898_VAR000£4.99











28 in store
- Handmade onsite at Mapes of Millport by Cumbrae Prints.\n\nWe have made these in multiple colours and sizes this is the 8cm wide by 13cm tall Outline of the island with the word Millport below\nThese can be applied to ANY SMOOTH & CLEAN surface, such as\nCars\nLaptop cases (not the screen)\nTablets (again not the screen)\nGuitars\nFridges\nMirrors\nMotorbikes\nWindows\nWardrobes\nJotters\nMobile Phones\nDiary\nWaterbottles\nBag - dependant on fabric\nLockers\nWhen applied these can be picked off without to much hassle.\nApplication instructions:\nLay the sticker out on the surface, with the transparent application layer facing you. Tape all four corners of the decal to the area with your masking tape.\nApply a strip of tape across the decal to create an anchor point (horizontally or vertically depending on shape of the decal).\nOnce the decal is anchored, remove the tape from the two top corners.\nBegin to carefully peel the application layer from the backing layer, ensuring the decal is stuck to the application layer. Keep peeling until you reach the anchor point.\nCut the backing layer as close to the central divide as possible.\nUse your credit card or squeegee to stick the decal (and application layer) to the surface, being careful to remove all bubbles. Start from the middle and work outwards, moving up slightly as you go along.\nWait a few minutes for the adhesive to attach the decal to the area then remove the anchor tape and repeat steps 6-8 on the opposite side.\nWait 10 minutes then peel back the clear paper ensuring vinyl decal is fully adhered to your surface (peel back slowly).\nAnd there you have it!
- Handmade onsite at Mapes of Millport by Cumbrae Prints.\n\nWe have made these in multiple colours and sizes this is the 8cm wide by 13cm tall Outline of the island with the word Millport below\nThese can be applied to ANY SMOOTH & CLEAN surface, such as\nCars\nLaptop cases (not the screen)\nTablets (again not the screen)\nGuitars\nFridges\nMirrors\nMotorbikes\nWindows\nWardrobes\nJotters\nMobile Phones\nDiary\nWaterbottles\nBag - dependant on fabric\nLockers\nWhen applied these can be picked off without to much hassle.\nApplication instructions:\nLay the sticker out on the surface, with the transparent application layer facing you. Tape all four corners of the decal to the area with your masking tape.\nApply a strip of tape across the decal to create an anchor point (horizontally or vertically depending on shape of the decal).\nOnce the decal is anchored, remove the tape from the two top corners.\nBegin to carefully peel the application layer from the backing layer, ensuring the decal is stuck to the application layer. Keep peeling until you reach the anchor point.\nCut the backing layer as close to the central divide as possible.\nUse your credit card or squeegee to stick the decal (and application layer) to the surface, being careful to remove all bubbles. Start from the middle and work outwards, moving up slightly as you go along.\nWait a few minutes for the adhesive to attach the decal to the area then remove the anchor tape and repeat steps 6-8 on the opposite side.\nWait 10 minutes then peel back the clear paper ensuring vinyl decal is fully adhered to your surface (peel back slowly).\nAnd there you have it!
